Here we are, we have an Azure account (you can do it here), so what to do now? Let’s create a VM just for fun, just for testing how it works.
In this post we are going to create a small VM with Windows using both Azure Portal and through Azure CLI, so we have (at least) two ways to do it.
Let’s go in in the Azure Portal, log in and go go go!
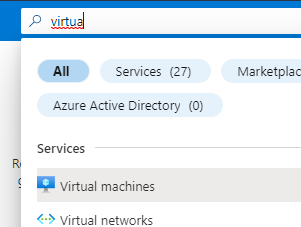
Search for Virtual Machine on the search bar.
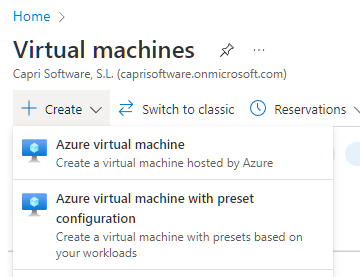
Click in Virtual Machines and hit Create, in this text we are creating an Azure Virtual Machine, without presets.
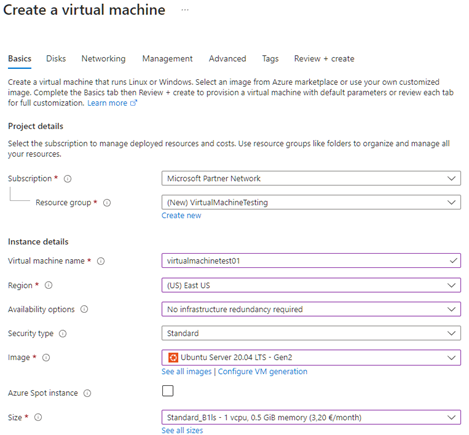
The next thing to set in here are the typical data of the Virtual Machine, like the resource Group where this is going to seat, the name, the Availability options and finally the image it will run and the size of the VM, like the following image.
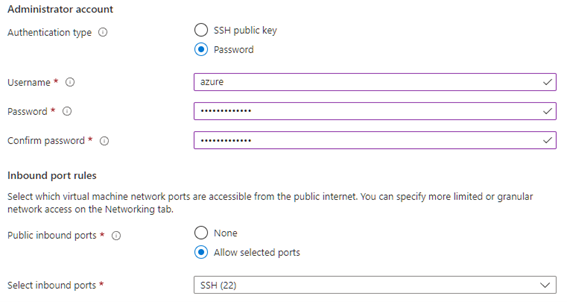
Right down of these, we are going to set the authentication and the ports to access the VM, in this case we are setting a user/password pair and the port 22, to connect via SSH.
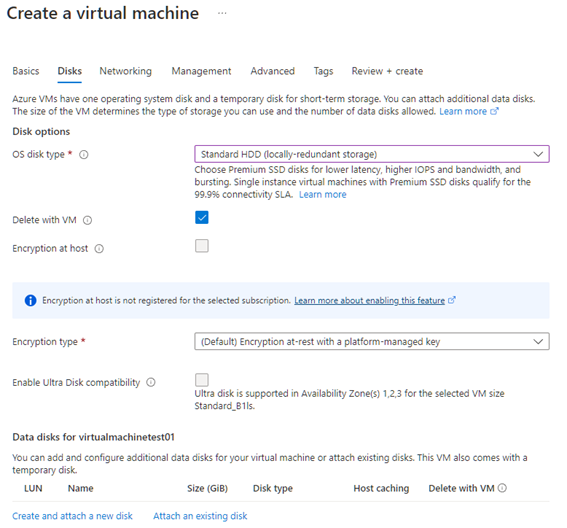
In the next step select the type of disk (standard HDD to save costs in the example) and the encryption, that I’ll leave with the default parameters. If you want to attach an extra Disk, you can do it in the lower part of the image below.
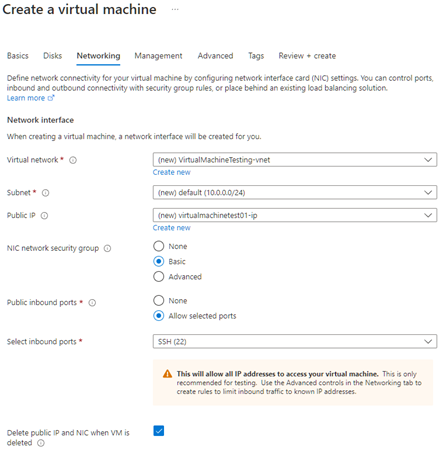
In the network page we will let almost everything by default, so it will create a virtual network for the machine, alongside with a Network security Group, that will let us open/close communication ports. It will also create a Public IP, basic for accessing the machine externally.
The management and advanced sections will rest at the default parameters as in this example we are not going to install extensions or anything similar… so let’s hit the Create button and wait a couple of minutes to see the VM created.
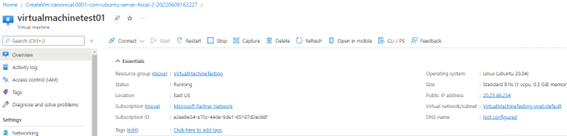
When it is created, we can go to the resource an see the details, and the IP to connect to.
If we try to connect to the IP via SSH it should connect like this:
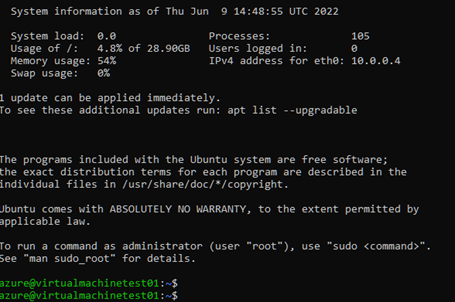
So, here we are, VM created in just 2 minutes.
Let’s try it via Azure CLI
The first command to execute is, as always, the login command:
az loginThis will open a web browser to authenticate the token, when this is done, we can continue working with the CLI. The command to create a VM (like what we created in the Portal version) is:
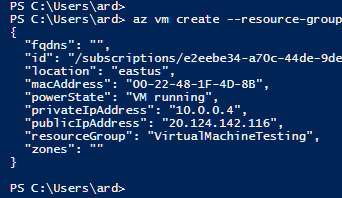
az vm create --resource-group VirtualMachineTesting --name UbuntuTesting --location eastus --public-ip-sku Standard --image UbuntuLTS --admin-username azureuser --admin-password 1234Asdf!!$$ When the command finishes successfully it will show us a message like this, where we can see the public IP to connect to.
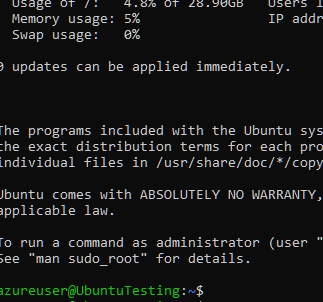
If you connect to the VM, you will see something like this.
Time to clean up!!
As this is something a Proof of concept, if you want to delete all of this to avoid Azure charge you extra cost you can run the following command to delete the Resource Group and all of the containing elements.
az group delete --resource-group VirtualMachineTesting