In this post I’m explaining how to install DietPI on a Raspberry Pi (a Raspberry Zero 2 W in this case) in a Headless mode so there is no need to have a display, mouse or even a keyboard. The initial configuration must be done by using a file called dietpi.txt (and dietpi-wifi.txt if you want a WIFI configuration).
Let’s start!
The first step is “baking” the SD card with the image downloaded in the official website of the project (www.dietpi.com), I will do it using Raspberry Imager, choosing the Choose OS – Use custom option but it can be done by using other tools like Balena Etcher or Win32 disk imager (in a Windows environment, obviously).

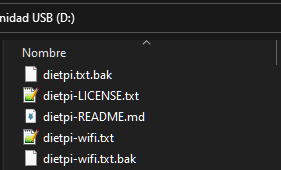
Once the image is written into the SD card, pull it off and plug it again, so it opens the flashed device and you can navigate to it, you must see the dietpi.txt and dietpi-wifi.txt files.
Now, open the dietpi.txt and search for the fields we have to modify, in my case I modified the keyboard layout, which I set to “es” (Spanish).

Set the desired hostname which in my case is “DietPI”.

I disabled the Ethernet interface (there is no ethernet interface in the Raspi Zero 2 W, so…) and enabled the WIFI interface.

I disabled the HDMI port as this will be a headless server and it saves a little MB of memory.

The rest of configurations will be by default so they can be modified with the initial run of the script.
Setting up the WIFI interface
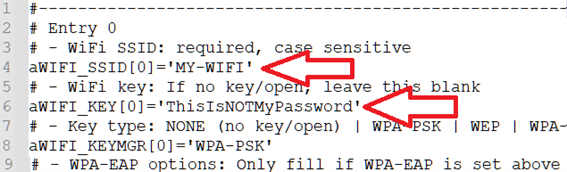
Now, to configure the WIFI interface, open the dietpi-wifi.txt and, in the first section we are going to enter the WIFI SSID and the password.
Connect via SSH and finish the configuration
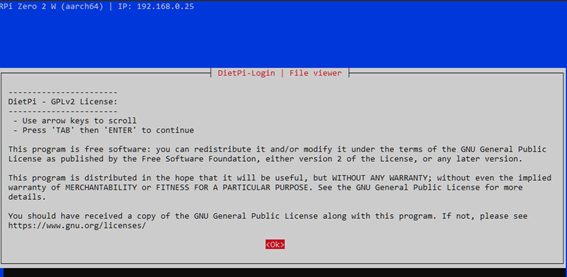
Once done this, eject the SD card and plug it in the Raspi (or the device in your case, maybe an ODROID, banana pi, etc.) and plug the power cord. After a 3-5 minutes loading, you will have to find the IP address of the device, I searched it in the DHCP to find out the IP address. At this point you can connect to the device via SSH, I use the Windows terminal and connect it by using the command ssh user@ip, the default user/password, that is root/dietpi.

Once connected, it Will launch the first launch script and will ask for the acceptance of the Terms & conditions
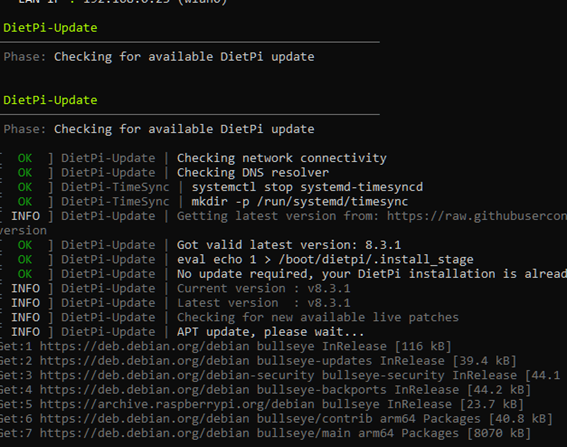
Now it is going to launch several processes, as you can see in the following picture.
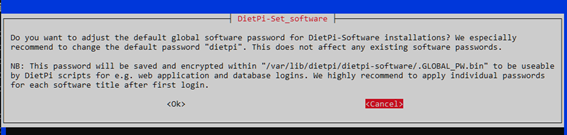
Now change the default passwords.
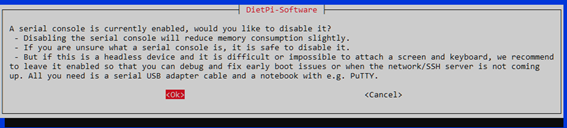
The next thing I want is to disable the serial interface because I don’t have one, if you neither or don’t know what this is. It will save a memory (just a little bit).
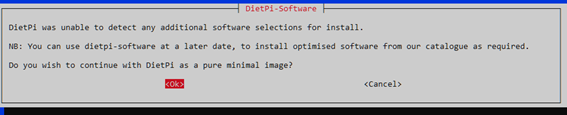
The next step will be asking for the default software to install because there is some software that will install by default if there is another application that demands it, for example, it will only install a Graphical Desktop Interface (LXDE, MATE or whatever you choose) if there is an application requiring it, Firefox for example. I will only change the SSH Server, as Dropbear do not offer SFTP support for secure file transfer, I’ll choose OpenSSH server.
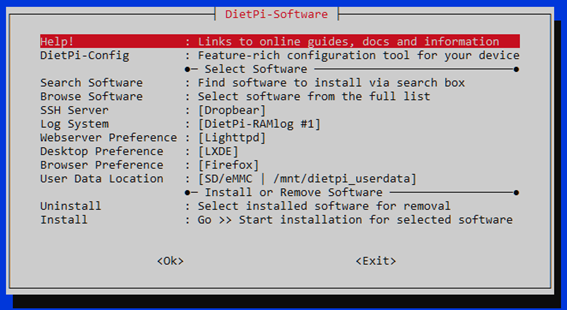
When you accept this menu, it will tell you that this can be modified at anytime by invoking the command dietpi-software.
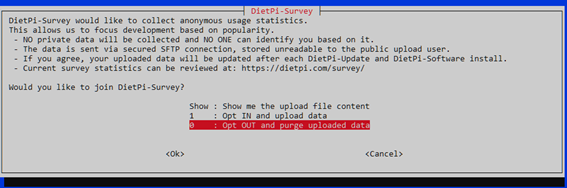
In the last step it will ask if we want to participate in the DietPi survey to enhance the OS in the future.
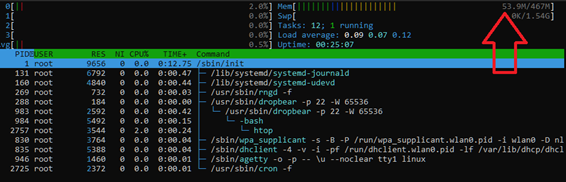
Check your efficiency!
Once done this, all the initial configurations will be done and it will show the initial menu, that will show some useful commands to configure the system and/or install software. In my case, by running the htop application will show the ridiculous memory usage in my Raspberry Pi Zero 2 W, that is around 54 MB.
So let’s go! Try this new OS for the tiny Raspberry Pi and save some memory!
Remember to check the Azure Basics course starting at the creation of a brand new Virtual Machine or a SQL database!